For this specialist decorating project I travelled to the lovely village of Thorner, near Leeds. The commission came about during a conversation with one of the clients friends, whose roll top bath I had faux marbled a few years previously.
The client had been looking for a decorative solution for his archway for some time, and whilst talking to his friend, my name came up.
Faux marble work is one of my absolute favourite specialist paint effects to do, and after an initial phone conversation, I was eager to visit the home and see what options I could offer.
During the consultation I showed the client various sample boards, each showing various designs, styles and colour ways. The client’s home already had many bespoke features and he simply loved the idea of having a decorative artist create a truly unique and hand painted ‘piece of art’ for his archway.
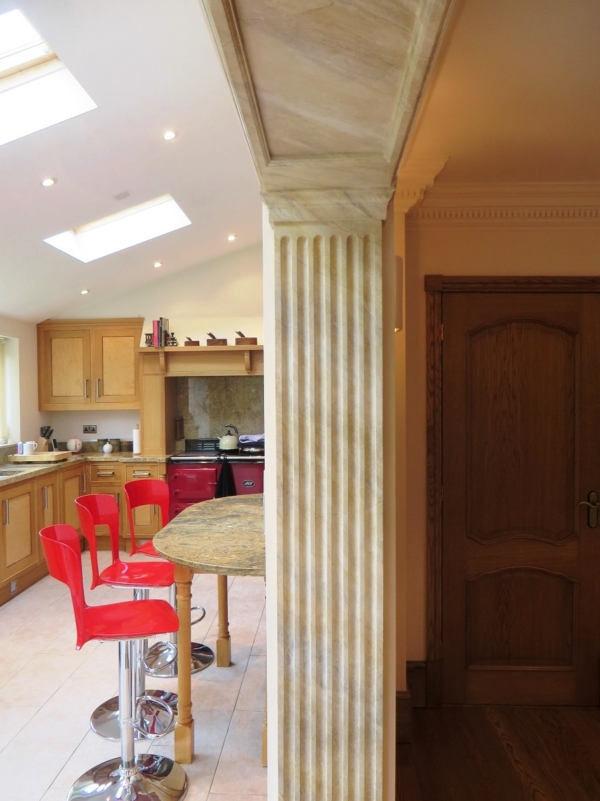
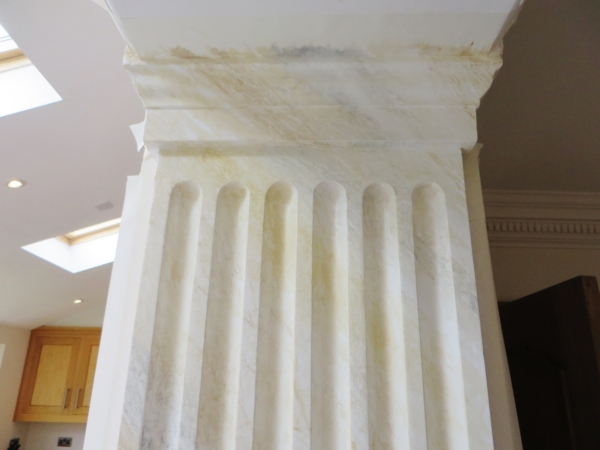
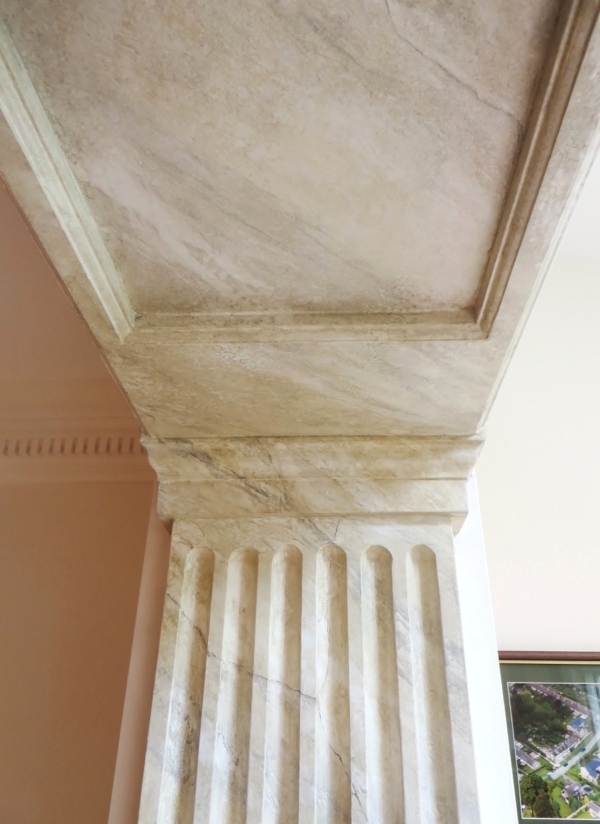
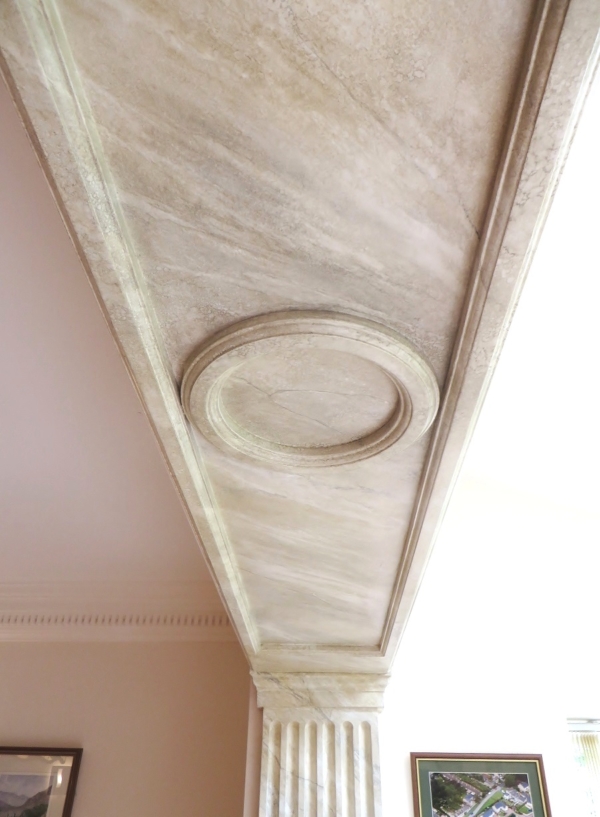
As you can see from this ‘finished’ photo, the archway is the divide between a beautiful hand made burr oak kitchen and the dining room.
All bespoke paint effects colours can be individually tailored to complement the other aspects of a room. In this case the faux marbling would need to complement not only the wood of the units but also the real marble of the worktops.
During the consultation it was agreed that the colours of the archway would need to be slightly lighter than the worktops but have the same sort of patternation.
Many people associate marble with ‘veins’ but in reality this is often not the case.
With this particular project the real marble worktops didn’t have any veining at all, so the faux effect was going to have to be created using layered glazes to achieve the detail and effect required.
In my experience some faux marble painters rely too heavily on just painting a few veins on a wishy washy background to achieve an effect. Most real marble has so much more than that, veins are not everything, there is amazing patination and depth of colour too. I have spent over 15 years honing my technique to ensure the ‘background’ is as beautiful and interesting as the veining, if not more so. This project was a match made in heaven.
The Process
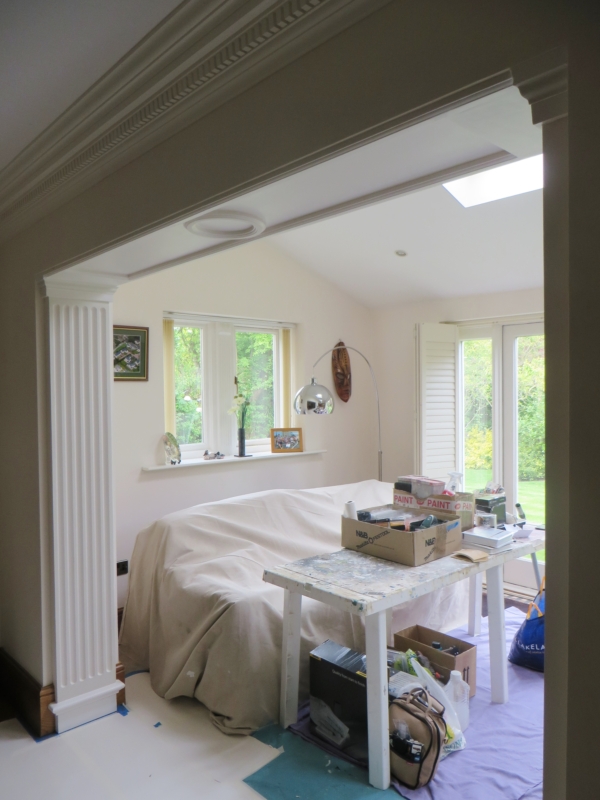
The first thing I did (after thoroughly masking the area off) was to sand back the existing finish on the archway. It was matt emulsion that hadn’t been painted on particularly well and I needed a perfectly smooth base that was non porous. I therefore applied two coats of Dulux White Acrylic Eggshell using a combination of a mini foam roller and various sized brushes.
Once this non porous base coat was established it was time to get things in order for the marble painting itself! ![]()

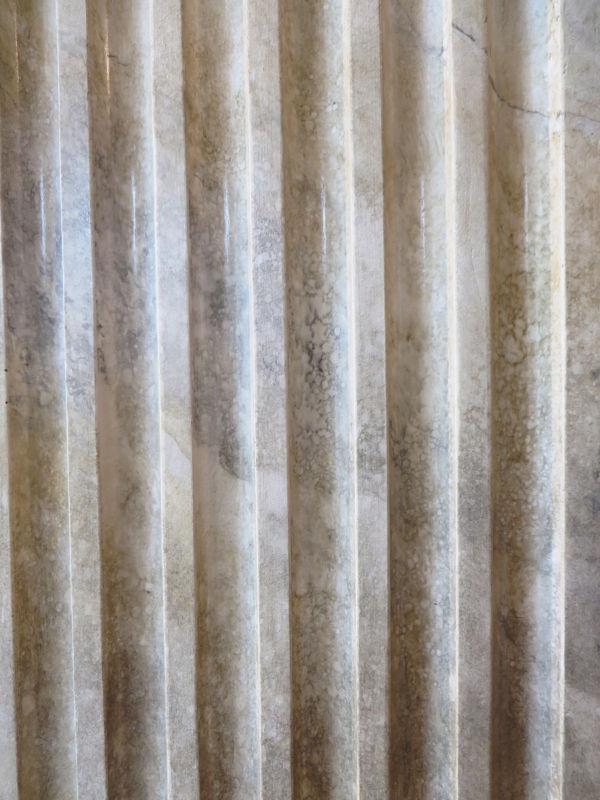
With faux marbling you need to make up some tinted transparent glazes to work with. I created 5 different tinted glazes, mixing tubed oil paint and pigments with Polyvine Oil Glaze and white spirit. The colours I used were combinations of Raw Umber, Burnt Umber, Paynes Grey, Vandyke Brown and Titanium White.
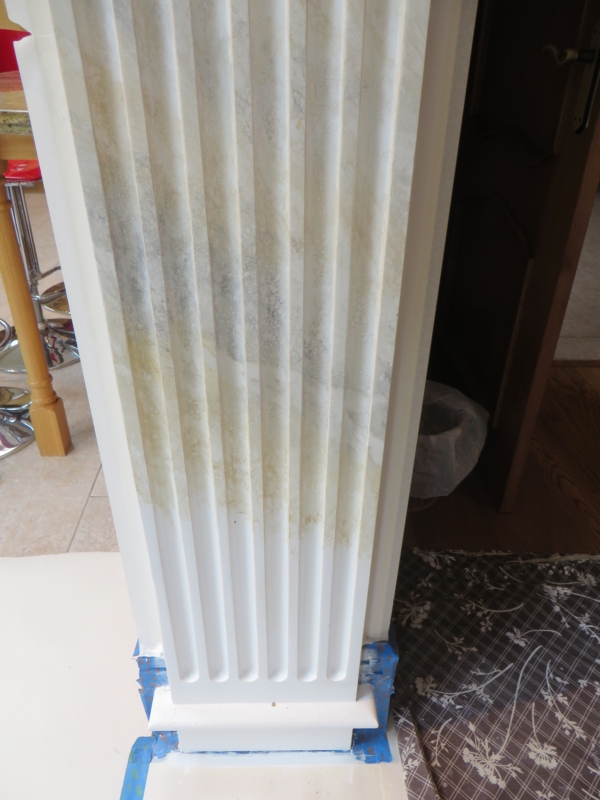
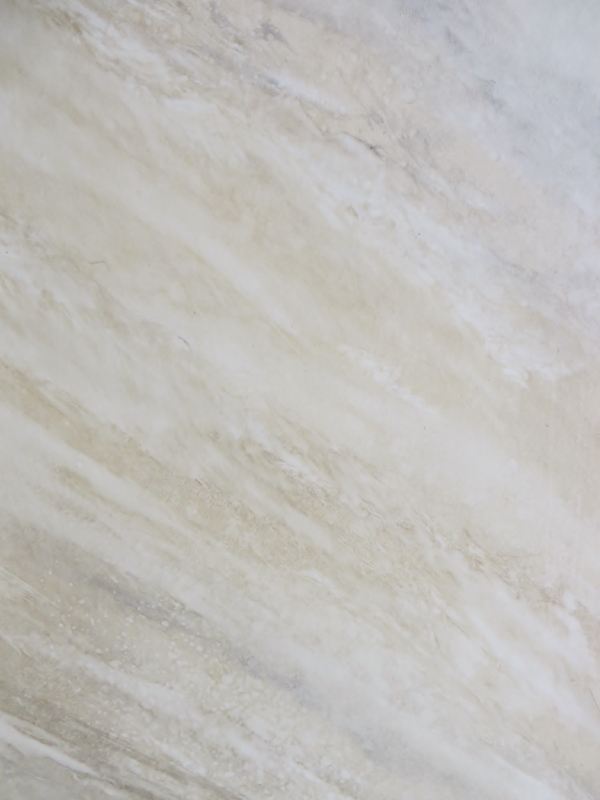
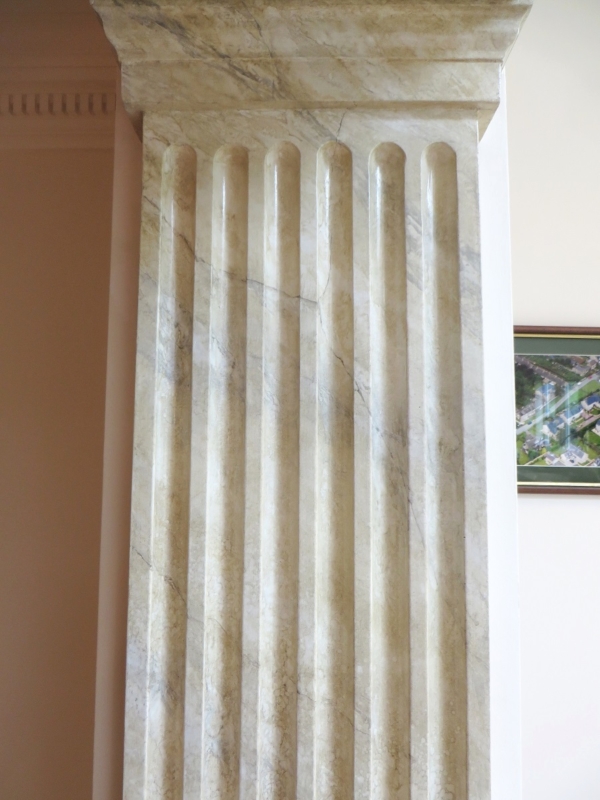
Using various brushes and tools, I then proceeded to create the ‘base’ layer of the faux marble effect. My painted marble effect is usually created by over-laying 2 or more layers to build up not only the effect but the depth of colour as well.
The first layer is very important as this sets the tone for the whole effect. The glazes used are transparent so even though I would be adding another layer of glaze over this one, the detail and colouring of this layer would still show through and had to be right.
As you can see from this picture, even after the first layer of glaze the effect is coming on nicely.
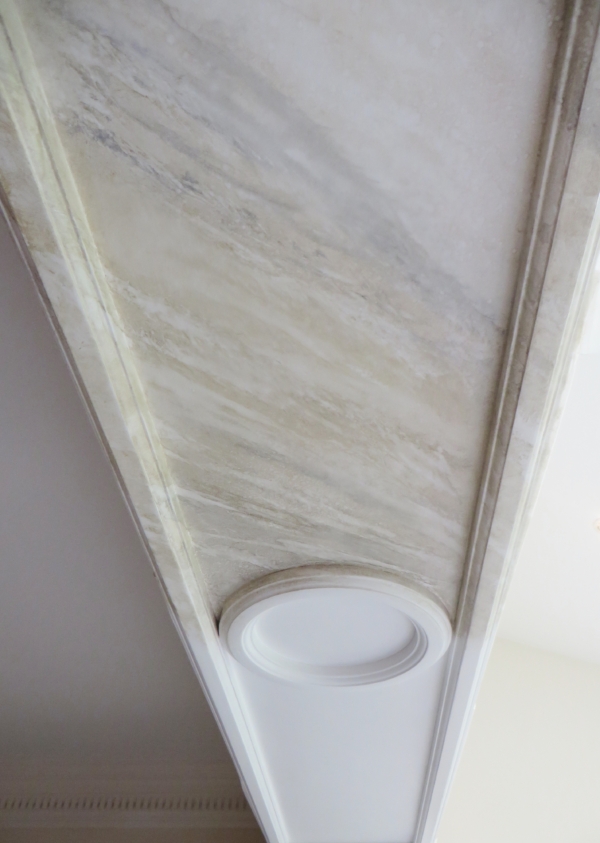
Once the first layer has been created and left to dry (16-24 hrs depending on temperature and humidity) it’s time to start the second layer.
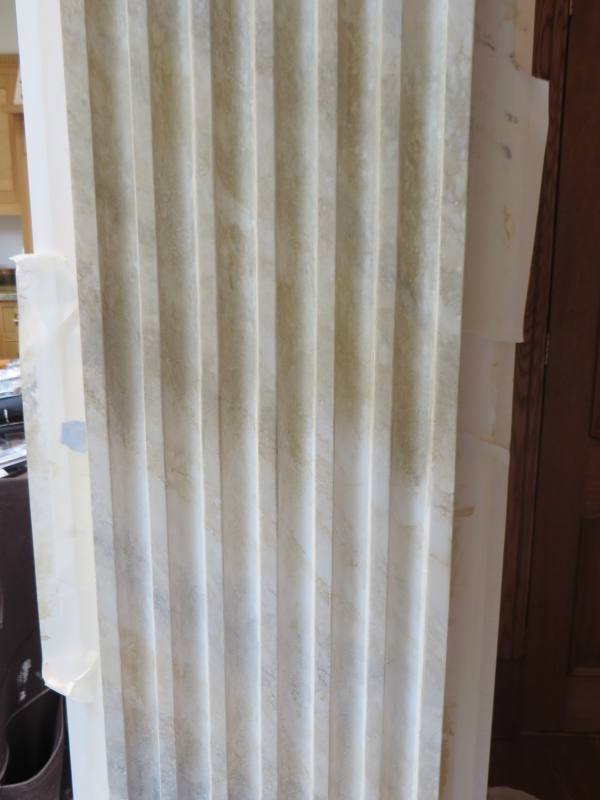
The colours, the kit and the techniques used are exactly the same for the second layer as with the first. You are essentially over-laying, roughly following the contours and colours you set down in the first layer. The depth of colour achieved after the second layer really starts to bring the marble effect to life. In this picture you can see the 2nd layer of glaze half completed on the left column.
Whilst applying the second layer of glaze I also added a few veins here and there to add further detailing and interest. As I mentioned before, I kept the veining quite minimal with this project so as to compliment the ‘vein free’ real marble of the kitchen work tops. Moreover, with the undulations of the columns, any prominent veining would have looked disjointed if viewed from the side, having flowed in and out of the curves.

Once I had acheived the look I wanted I set about sealing everything with two coats of Polyvine Satin Varnish.This not only makes the finish really durable and wipeable but also gives the faux marble a beautifully even finish.
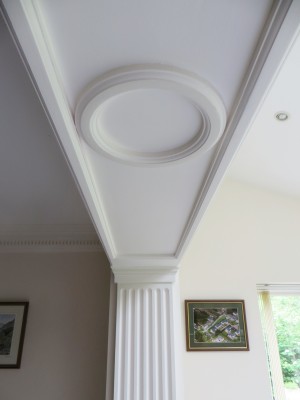
And there you have it, the finished faux marble effect!
The client was over the moon with the results and loved watching all the different processes and techniques I used to create the effect. He now has an original piece of art and a genuine talking point.
Lee works as a specialist decorator throughout Yorkshire, and is within easy reach for projects in Harrogate, York, Wetherby, Ripon, Ilkley, Leeds, Wakefield, Halifax and the surrounding areas.